Tail Pad Overview
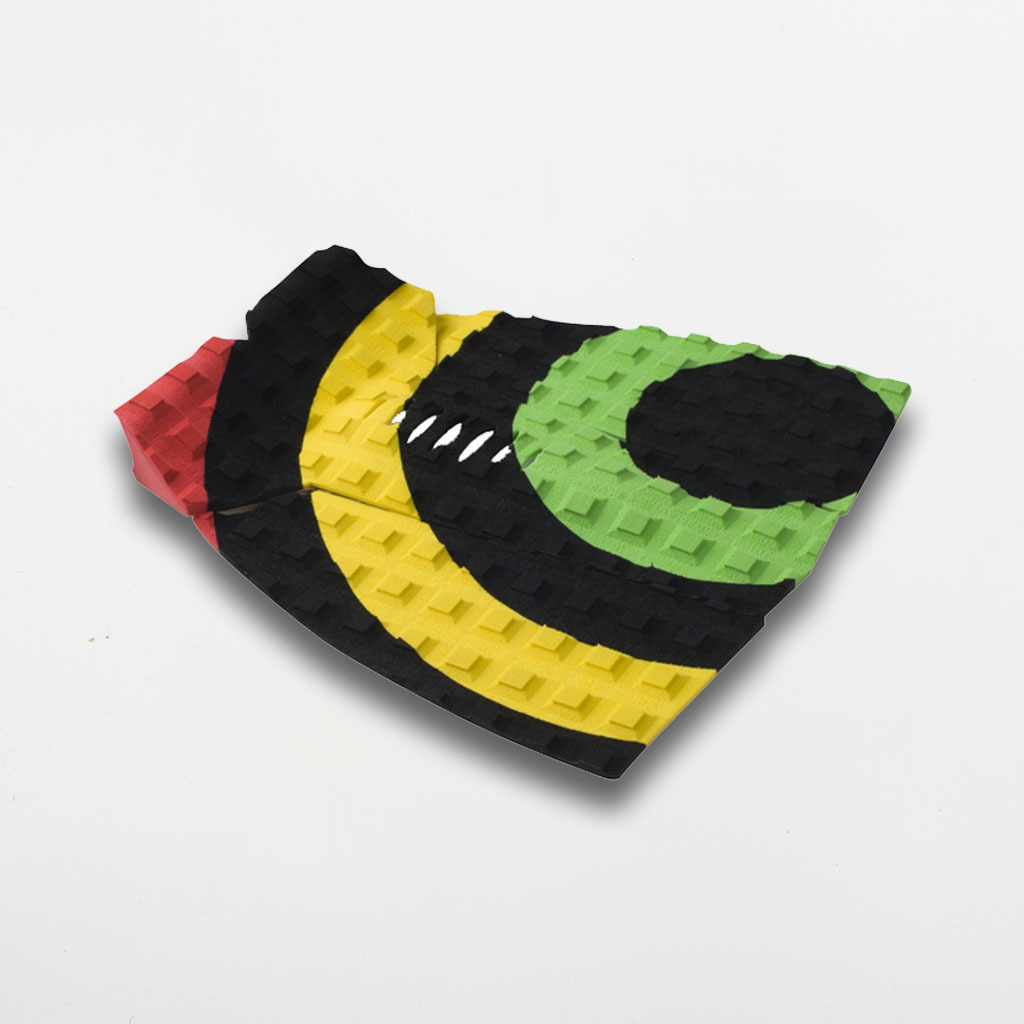
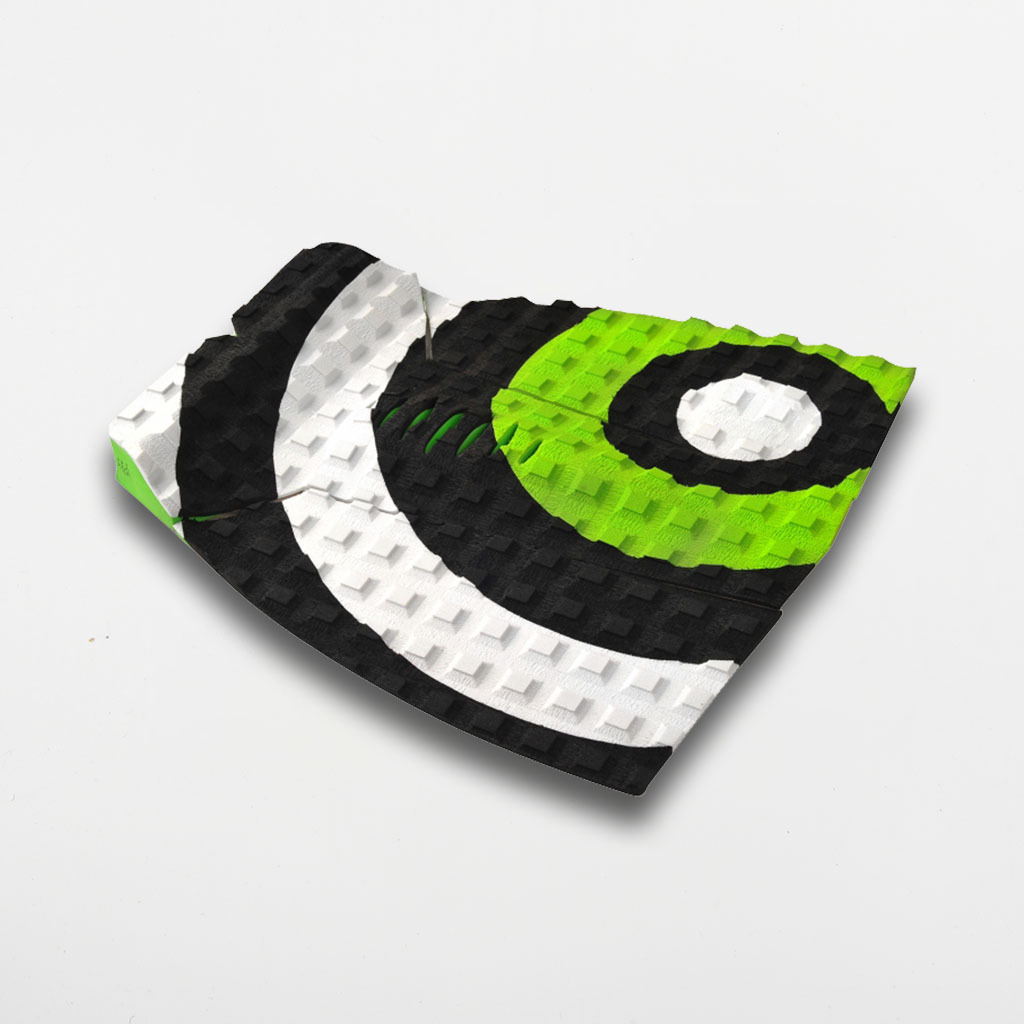
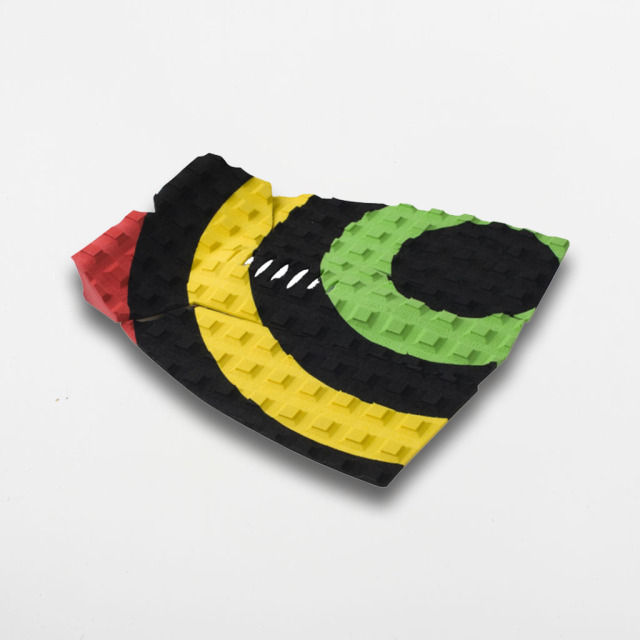
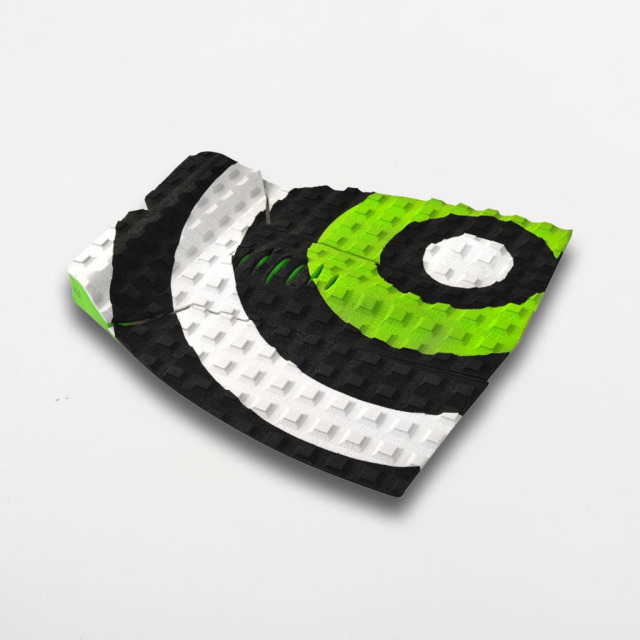
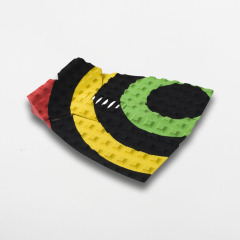
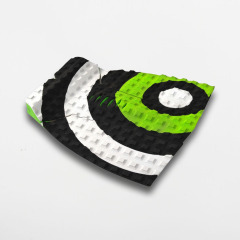
The face carries a raised square grid over a matte finish, with a concentric eye graphic running along the centreline, and every piece leaves the factory with its 3M pressure-sensitive adhesive already applied. Fitting is a peel-and-press job on a clean, wax-free deck, so a shop can fit a pad in minutes when a customer buys a new board, and a rider can swap a worn one without special tooling. Because the set is split into three, this surfboard tail pad follows tails that a single sheet cannot: the pieces butt together on a squash or thumb tail, or sit apart with a gap where the stringer runs on a swallow or pintail. Wholesale distributors, surf schools and surf board manufacturers keep it as a single surfboard traction pad code covering a wide spread of board shapes.
Tail Fit & Installation
- Match the layout to the tail shape. On a squash or thumb tail, butt the three pieces together; on a swallow or pintail, leave a gap along the stringer so each piece follows a point.
- Check the width where your rear foot lands, and spread the pieces so the outer edges sit inside the rail line. On a longboard traction pad layout the pieces normally sit a little further apart than on a shortboard.
- Dry-fit the whole set before peeling anything. Slide it a few centimetres up or down the tail until your back foot lands on the widest part of the pad.
- Strip the old wax and clean the deck with a suitable cleaner, then let the board dry completely — the adhesive will not bond to a damp or waxy surface.
- Mark a light centreline in pencil. A surfboard tail pad sits straighter when the middle piece follows that line, and the mark wipes away afterwards.
- Keep the pad forward of the surfboard fins and their boxes. If the tail is short, trim the rear edge rather than pushing the pieces back over the hardware.
- Peel the backing and set each piece from the centre outward, pressing with your palm to push air ahead of the adhesive.
- Leave the board flat at room temperature before riding, and keep weight off the pad while the adhesive settles.
- - Raised square grid. The grip is built from small blocks of raised squares rather than a random texture, so the ball and heel of your rear foot land on the same pattern each time you shift weight, and water runs off between the blocks instead of sitting on the deck. - Concentric eye graphic. Set along the centreline, the graphic doubles as an alignment mark while you lay the pieces down, and it gives the pad a recognisable look on a shelf rather than a plain dark rectangle. - Matte, low-sheen face. The surface does not glare in bright sun, and it does not collect the wax smears that make a deck look tired halfway through a season. - Flat die-cut pieces. Each piece is cut to a clean outline, so the edge sits flush and does not catch on a board bag, a rack strap or a wetsuit sleeve. - Clear of the surfboard fins. The pad covers the deck between the rear fin cluster and the tail edge, so it does not sit on top of fin boxes or cover the screws. - Rear-foot coverage. The set covers the area a rider actually stands on through turns and leaves the forward deck free, so a surfboard traction pad and a waxed front section can be used together on the same board.
Matching Board Accessories
- Leashes. Hypalon models in 6 ft 6 mm, 7 ft 7 mm, 8 ft 7 mm and 9 ft 8 mm, so the surf leash length can be matched to board length and wave size, from small-wave shortboards up to longboards and bigger days.
- Fins. Honeycomb fins in single tab, double tab and box systems, so the surfboard fins you stock match the boxes on the boards you sell.
- Other traction. Centre pads for the middle of the deck, waxless pads and skimboard pads run alongside this tail pad, which lets a shop fill a traction wall with one traction pad for surfboard tails and the pieces that go with it.
- Longboard options. Riders building a longboard traction pad setup usually pair the tail pieces with a centre pad so the middle of the deck stays walkable.
- Covers. Basic bags, regular bags and stretch covers in board-length options for storage and travel.
- Racks. Travel rax and tie-downs, storage racks, display racks and bike racks for shop floors and home storage.
- Wax and inserts. Wax and inserts for the front deck, so the waxed section and the pad are set up in one order.
Specifications
| Model | T27030 |
|---|
| Pad type | Three-piece tail pad |
| Pieces per set | 3 |
| Pattern | Square |
| Surface | Raised square grid, matte finish |
| Graphic | Concentric eye design on the centreline |
| Adhesive | 3M pressure-sensitive backing, pre-applied |
| Sheet form | Flat, die-cut outline |
| Deck position | Tail deck, behind the rear foot |
| Wax | Not required on the pad itself |
| Typical boards | Shortboards, longboards, hybrids and funboards |
Care & Replacement
Salt water, sun and a hot car do more damage to a traction pad for surfboard use than actual surfing. Rinse it with fresh water after a session, wipe it with mild soap when sunscreen or wax builds up, and skip solvents and abrasive pads, which dull the texture that does the gripping. Keep wax on the front deck and off the raised grid — wax fills the gaps between the blocks and the pad starts to feel smooth underfoot. A board left on a dark surface in summer gets hot enough to soften the adhesive underneath, so store it out of direct sun.
Check the edges every few months. A corner that has lifted slightly can be pressed back down while the adhesive is still tacky, but once grit gets under it the piece keeps lifting and should be replaced. Removal runs the fitting process backwards: warm the pad gently, slide a thin flexible blade under one corner and work along the edge, then lift the piece away instead of tearing it. Take the old adhesive off with a suitable remover and let the deck dry before a new set goes on. Shops running rental fleets usually keep spare sets on the shelf, because pads wear at the heel first and a flattened grid is the point to swap rather than repair.
Ordering & Confirmation
- Quote the code and the pattern.
- Confirm the colourway and graphic. The pad is shown in more than one finish; ask your sales contact to match colourway and graphic against your approved sample or artwork before production starts.
- Tell us what the pad will be fitted to. Shortboard, longboard, rental fleet or new-board assembly changes the packing and the quantities that make sense.
- Ask about sample sets. If you need to check the grid feel and the adhesive before committing, ask your sales contact about sample availability and the current terms.
- Agree packing and labelling. Presentation-ready bags, hang tags or plain bulk packing are settled per order, together with carton marking.
- Confirm quantity, lead time and delivery terms with your sales contact before you quote a date to your own customers.
- Plan the season across the range. Pads are produced in the same factory as our surf leash, surfboard fins, cover and rack lines, so one accessories order can be scheduled as a single programme — and working with surf board manufacturers, multi-store chains and surf schools, we build to your range plan rather than a fixed stock list.
Scale & Supply Capability
CIMI is a factory-based supplier with 16 years in surf and watersports hardgoods, manufacturing at our own facility rather than sourcing through traders. Chain stores, supermarkets and surf-brand stores buy from us because one supplier covers a full accessory assortment, so a season's order and its reorders can be planned together. We take on OEM and private-label work, adapting designs, colourways and branding to your programme, and we schedule production against your agreed range plan. Send us your buy list and target dates, and we will confirm what we can make and when.
FAQ
How does the raised square grid feel under a bare foot?
The blocks are shallow and rounded rather than sharp, so they read as firm feedback through the ball and heel instead of pressure points. That is the point of this surf traction pad: you feel where your foot is on the tail through a turn rather than sliding across a flat deck. Riders who surf barefoot all summer often notice the texture for the first session or two, after which it beds in slightly without losing the pattern.
Will one pad work on both a swallow tail and a squash tail?
Three pieces give you the flexibility. On a squash or thumb tail they butt together into one continuous surface; on a swallow or pintail you leave a gap along the stringer so each piece sits on a point. That is why the same surfboard tail pad covers a spread of shortboards and hybrids, and why a shop can hold one code instead of a pad per tail shape. Check the tail width at its widest point before ordering a large quantity.
Is the surface slippery once it is wet?
No. The grid lifts the contact points slightly and lets water run off between the blocks, and the matte face does not polish up the way a smooth deck does. A traction pad for surfboard use relies on texture rather than suction, so it feels much the same wet or dry — the main difference from wax, where grip changes with water temperature and how much wax has built up.
What is the difference between this tail pad and a centre pad?
A tail pad sits behind the rear foot and is shaped around the tail; a centre pad covers the middle of the deck for a wider stance or for walking a longboard. Many riders fit both — the surfboard traction pad at the back and a centre pad or wax forward — so the two are usually ordered together. Shortboard buyers tend to ask for the tail pad first.
Can the three pieces be used on a longboard?
Yes, with a wider spread. On a longboard traction pad setup the pieces usually sit further apart and a little further forward, and many riders add a centre pad so the walk to the nose is not broken up by wax. Measure the tail width where you plan to fit the pad and keep the outer edges inside the rail line. On a very wide tail, a second set or a centre pad fills the deck more evenly.
Will the pad get in the way of the leash plug?
Fit the pieces so the rear edge stops short of the plug — most tails leave enough deck behind the rear foot for that. Keeping the plug clear means the surf leash sits flat and you can change the cord or rail saver without lifting the pad. If your plug sits unusually far forward, dry-fit the set and note where the plug falls before peeling anything.