Product Overview
A three-piece tail pad for the back foot
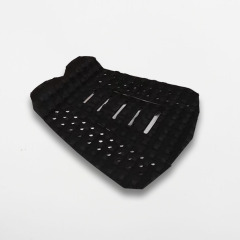
The T00344 surf traction pad covers the section of deck a rider's back foot drives against. The set arrives as three separate panels rather than one cut sheet, so it can follow the taper of the tail and sit where the foot actually plants instead of where a single rectangle happens to land. The deck is moulded in a diamond pattern and the underside carries 3M adhesive, which makes fitting a peel-and-stick job on a clean, dry tail — no glue pot, no clamps, no waiting on a resin mix.
What shops and board builders do with it
One part number covers a useful spread of shortboard tails across the traction pad surfboard range, which keeps a display wall tidy: the surfboard tail pad sits with the fins and leashes, staff can fit it at the counter in a few minutes, and a school can put a board back into rotation the same day. Because the pieces are separate, a fitter can leave more deck visible on a narrow tail or spread the panels on a wider one.
Finish and colour
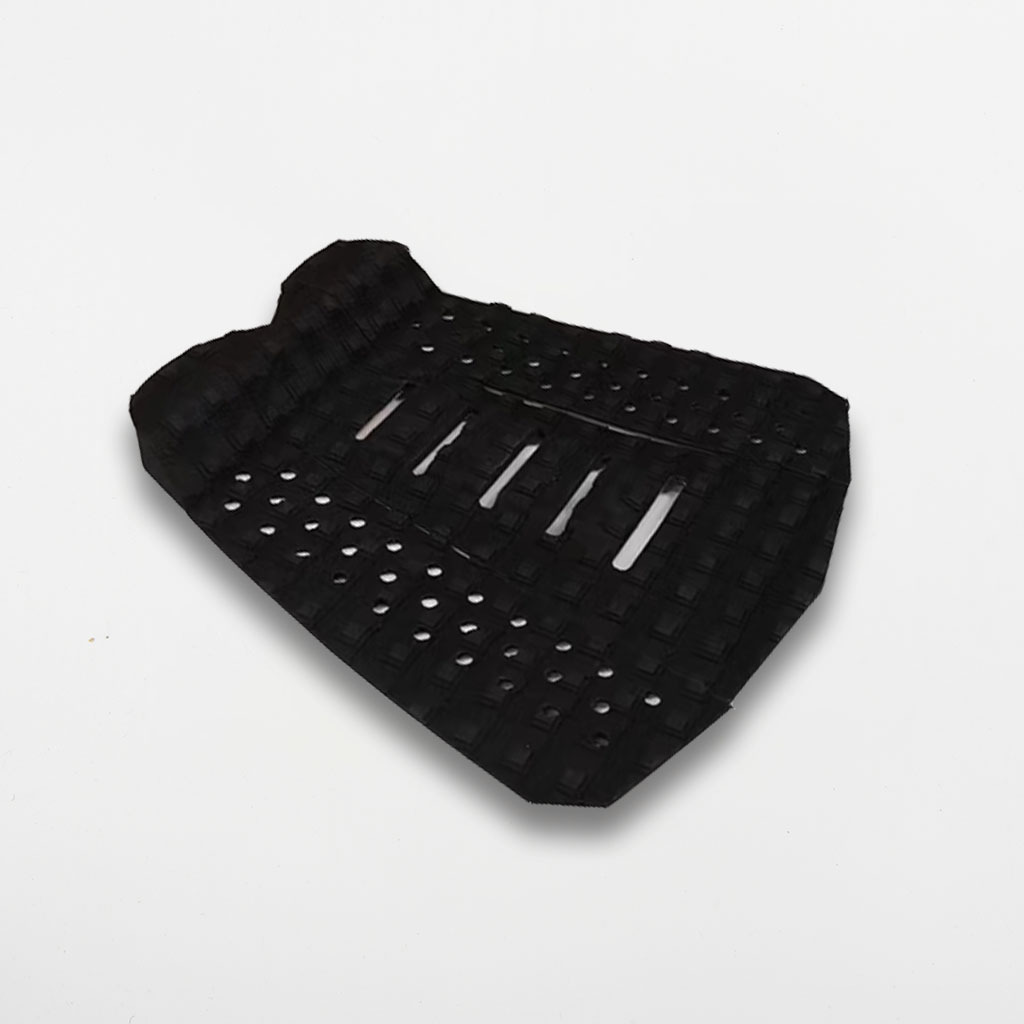
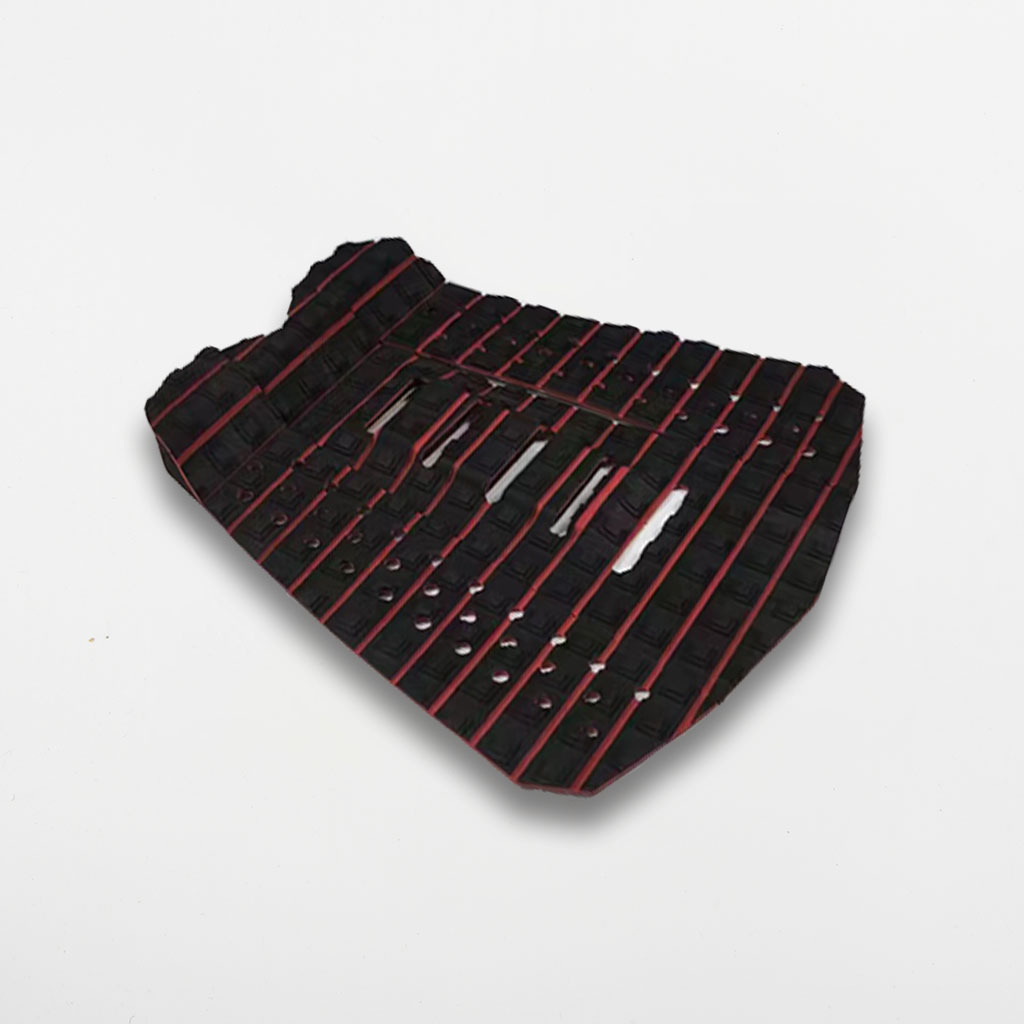
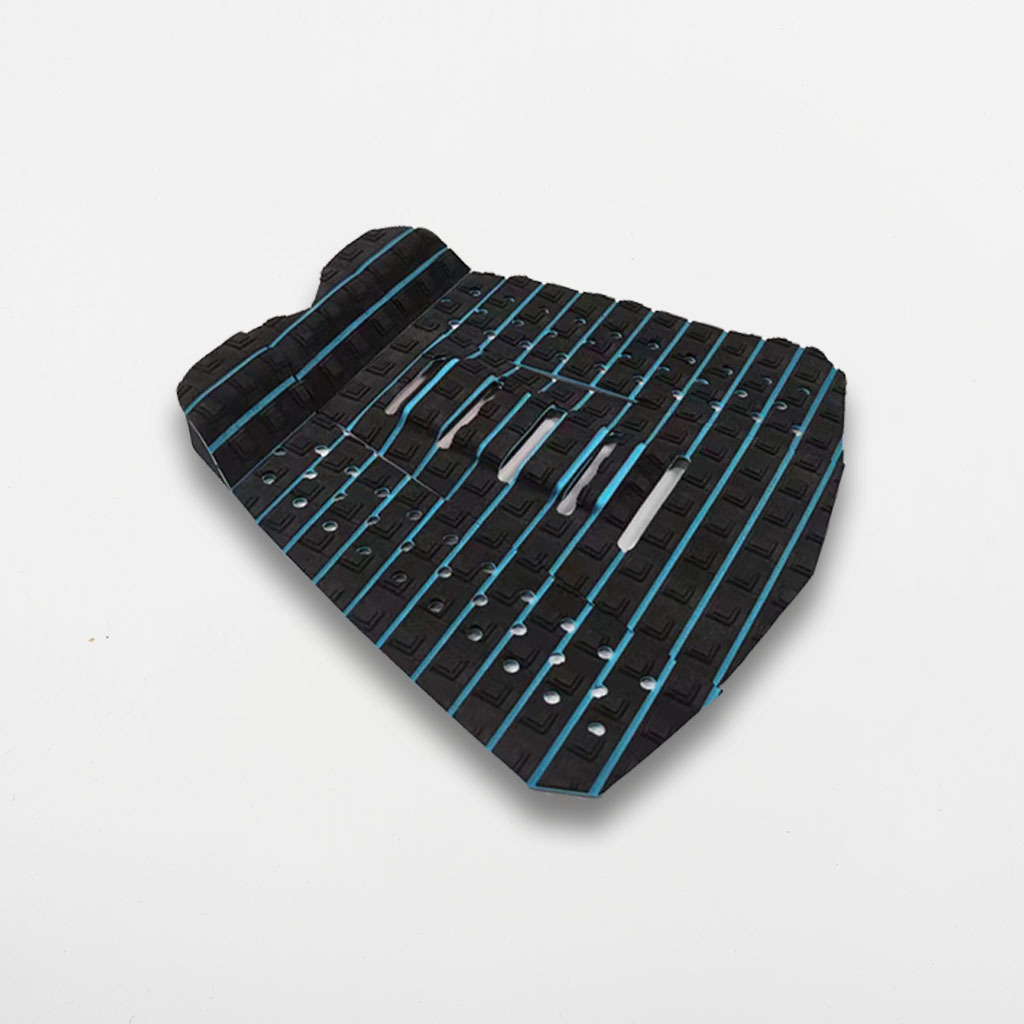
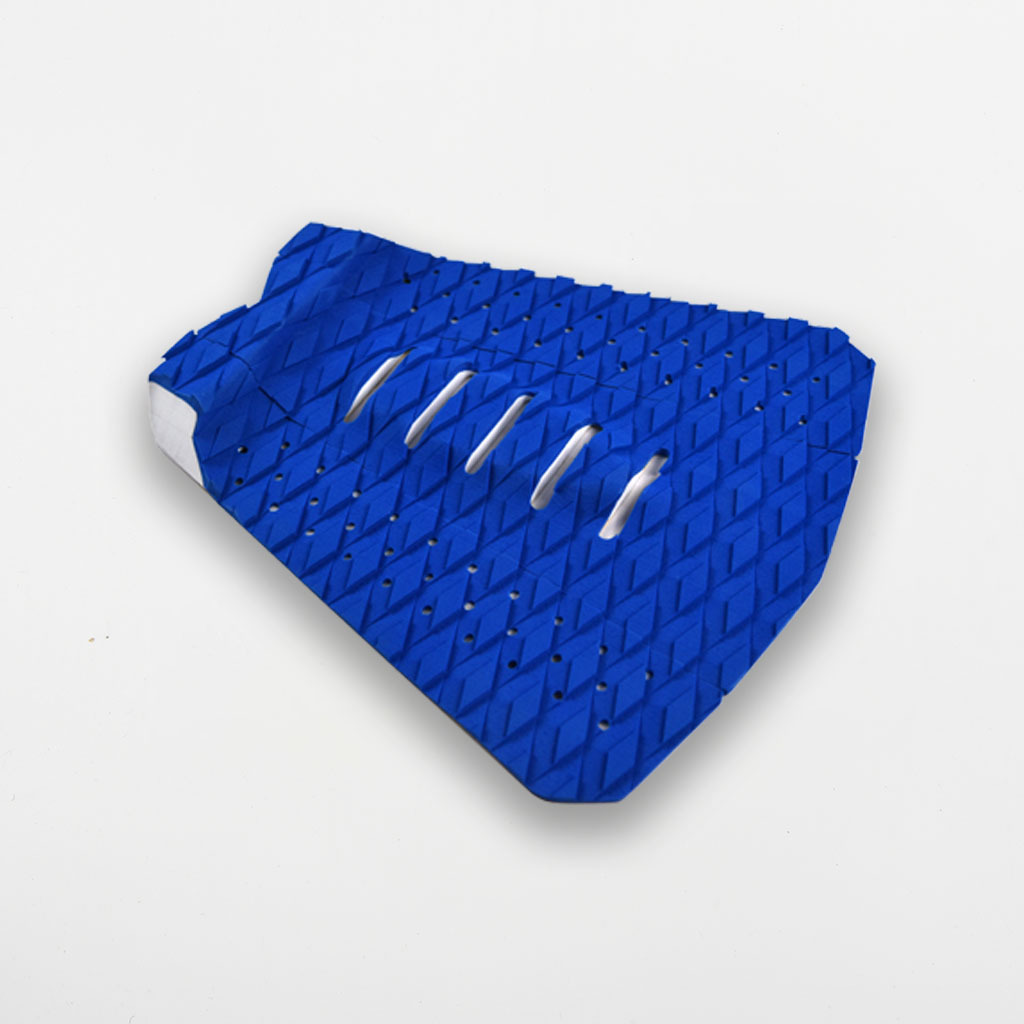
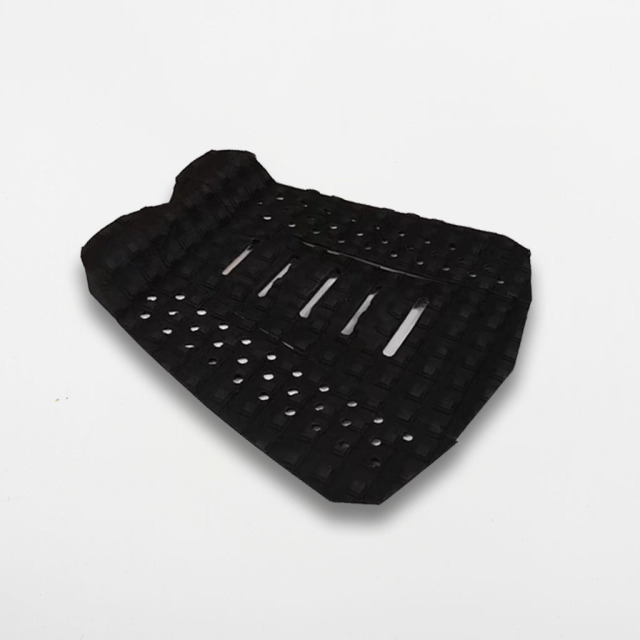
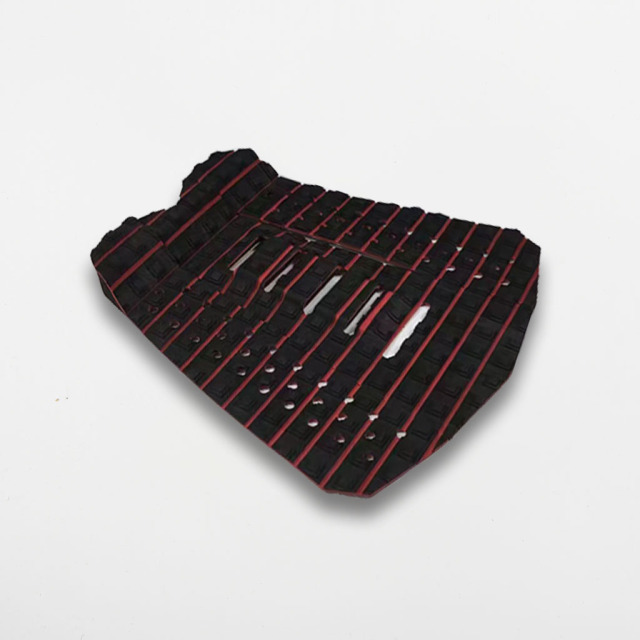
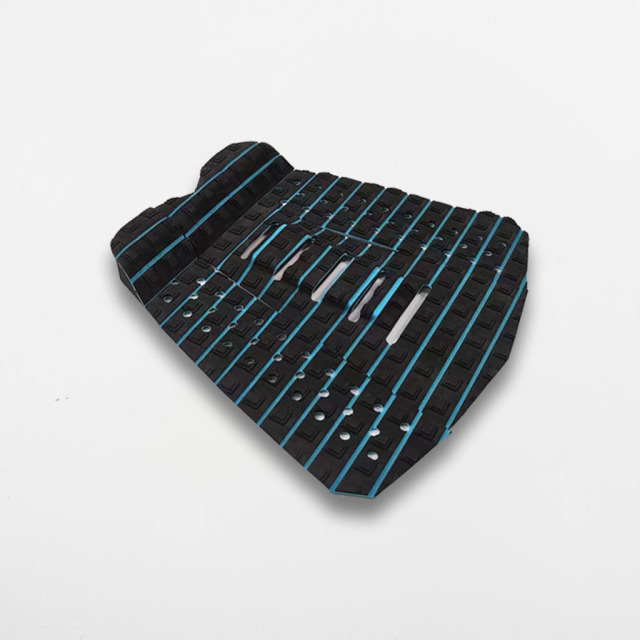
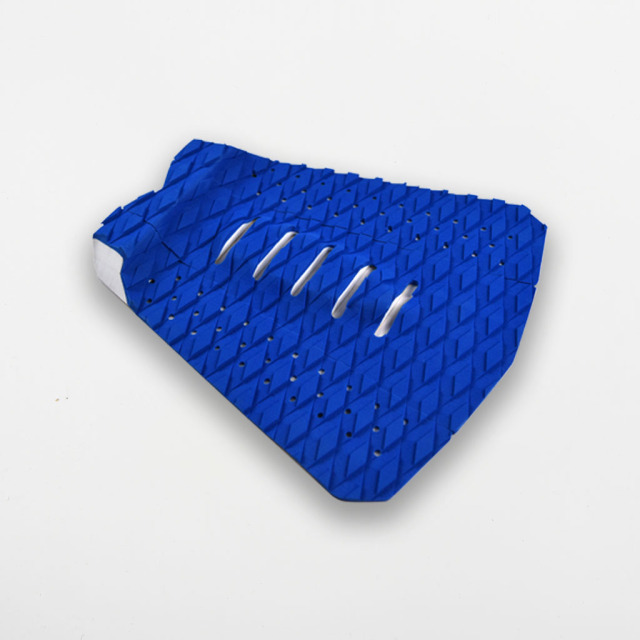
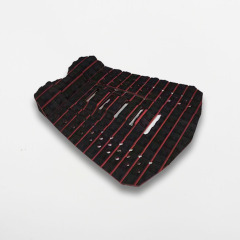
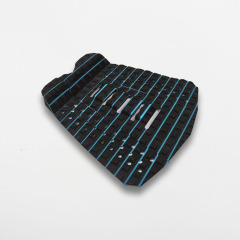
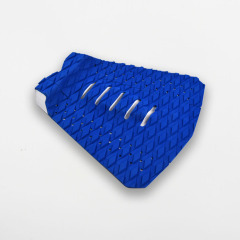
The surface is matte, with the diamond grid standing proud of the base, and the sets are shown here in black with red accent stripes, black with blue accent stripes and a solid blue build. That gives a shop a small colour story to group on the shelf, gives surf board manufacturers three colourways to build a new model around, and gives a rider a surfboard traction pad that reads as part of the board rather than something stuck on top of it.
Grip Surface & Ride Feel
- Diamond-cut deck. The grip on this surfboard traction pad is moulded as a grid of raised diamonds rather than a flat sheet, so the ball and heel of the back foot have edges to press against when you load the tail through a turn.
- Raised tail kick. A lifted block at the rear gives the foot a physical stop: the back of the board can be found by feel without looking down, and the foot stays planted when the board comes around.
- Central ridge. A raised ridge runs along the middle of the main panel, giving the arch of the foot a line to sit against so the stance repeats from session to session.
- Perforated surface. Holes through the deck break it into separate blocks, which keeps the panel light and stops water sitting as a flat sheet under the foot when the board is awash.
- A range of decks. The same set goes under a shortboard, a fish or a mid-length; on a heavier board a longboard traction pad does more of the work, and the three panels can be spaced wider to cover a broader tail.
- Consistent underfoot. A surfing traction pad holds its pattern through a session, so the deck feels the same on the last wave as on the first — nothing to re-wax between sets, and nothing melting onto the deck on a hot day.
Three-Piece Layout & Board Fit
Why the set is cut in three
A traction pad for surfboard tails is usually one continuous sheet, which leaves the fitter working around whatever the tail is doing. Cutting it into three changes the job: the largest panel carries the kick and sits over the stringer at the back, while the two smaller panels fill the deck either side and can be set wider or narrower to follow the rail line. On a squash tail the gaps close up; on a wider or swallow tail they open.
Matching the set to the tail in front of you
Measure across the tail where the deck is still flat, before the rail curves away, and check that the whole traction pad surfboard set reaches roughly to the rail line on each side without hanging over the edge. Then stand on the board and mark where the back foot actually lands — most riders want the kick just behind the heel rather than under the arch. If the tail is unusually narrow, unusually wide or heavily channeled, send a photo of the tail with a ruler across it before ordering.
Boards that are not shortboards
The same set goes on a fish, a step-up or a mid-length, and on a longer board it works as a longboard traction pad for the tail section, where a rider shuffles back to turn. Very wide longboard tails usually want the panels spread further apart, and a board that is walked for noseriding is better with traction only at the tail and wax forward of it. Skimboards and bodyboards take their own pads and a surfboard-shaped tail pad will not sit correctly on those decks.
Specifications
| Specification | Detail |
|---|
| Model | T00344 |
| Set contents | 3 separate pieces |
| Deck pattern | Diamond |
| Adhesive | 3M self-adhesive backing |
| Grip finish | Textured, matte |
| Tail profile | Raised tail kick |
| Centre profile | Raised central ridge |
| Surface detail | Perforated grip holes |
| Placement | Surfboard tail, under the back foot |
| Product family | Traction / tail pads |
Fitting & Aftercare
- Strip the old deck. Scrape off old wax and any leftover adhesive with a plastic scraper, then wipe the tail down with warm water and a soft cloth. The surface has to be dry, dust-free and free of oil or sunscreen before the pad goes near it.
- Lay the three pieces out dry. Set the largest panel over the stringer with the kick at the back edge of the deck, then position the two side panels. Check that the surfboard tail pad reaches the rail line evenly on both sides before you commit.
- Mark the position. A strip of tape along the rail or a light pencil mark at each corner is enough to put the pieces back in the same spot after peeling.
- Peel and press from the centre. Lift a few centimetres of backing, set the panel down along your mark, then peel the rest as you press from the middle outwards. Working outward pushes air ahead of the adhesive instead of trapping it.
- Roll it down. Run a roller or the heel of your hand firmly across the whole panel, paying particular attention to the edges and around the kick, which is where lifting normally starts.
- Let it settle before the first session. Give the adhesive time to bond before the board goes in the water, and keep the board out of a hot car while it does. A surfing traction pad that is pressed on and surfed straight away is the one that peels at the corner a week later.
- Rinse rather than scrub. Fresh water and a soft brush keep the diamond grid clear of sand and salt. Solvents and harsh cleaners dull the surface and can soften the adhesive at the edges, so keep them off the pad.
- Removing it later. Warm the panel gently, lift one corner and peel slowly, keeping the pad close to the deck as it comes away. Clean off the residue, let the deck dry fully, and a replacement goes on the same way.
Ordering & Confirmation
- Confirm the part and the colourway. Quote the pad code and say which colour direction you want — black with red accents, black with blue accents, or the blue build. If the order covers several board models, list the tails you are covering so a traction pad for surfboard range is quoted as one programme.
- Agree the quantity per colour. Ask what quantity applies per colourway, whether pricing is set per colour or per order, and how the split affects the packing you receive.
- Raise packing and branding early. Shelf-ready packing, hang tags and your own label are worth discussing at quotation stage, because they change both the packing specification and the production schedule.
- Approve a sample. Ask about sample availability and timing, and check the diamond depth, the adhesive and the colour on the physical surfboard traction pad before committing a season's volume.
- Plan the shipment as a range. Ask whether pads, fins, leashes, covers and racks can travel together, and whether a mixed traction pad surfboard assortment can be packed to your store allocations.
- Confirm the commercial terms in writing. Payment terms, incoterms, port of loading and the production calendar all belong in the quotation — ask for them against your season, and confirm what changes if colourways or quantities shift.
- - Leashes. A customer replacing the surf traction pad on a well-used board is often in the same visit for a new leash; stocking regular and Hypalon leashes alongside means one repair trip and one sale. - Fins. Honeycomb, timber, G10 glass and nylon fins across single tab, double tab and box fitments, so the fin set matches the board the pad is going on. - Other traction pieces. Shops building a traction pad surfboard wall can add centre pads for riders who want grip further forward, plus skimboard pads and waxless pads for the rest of the deck. - Covers and racks. Basic bags, regular bags, stretch covers and bodyboard bags, plus travel tie-downs, storage racks, display racks and bike racks for both the shop floor and the customer's garage. - For board builders and surf board manufacturers. A builder fitting out new boards can take pads, fins and leashes on one line and have them arrive together, rather than chasing three suppliers for one board.
Scale & Supply Capability
CIMI is a factory-based supplier with 16 years in surf and watersports hardgoods, manufacturing at our own facility rather than sourcing through traders. Chain stores, supermarkets and surf-brand stores buy from us because one supplier covers a full accessory assortment, so a season's order and its reorders can be planned together. We take on OEM and private-label work, adapting designs, colourways and branding to your programme, and we schedule production against your agreed range plan. Send us your buy list and target dates, and we will confirm what we can make and when.
FAQ
Will this tail pad fit my board?
It is a three-piece set, so it adapts to more tails than a single-sheet pad: the largest panel sits over the stringer and the two side panels follow the rail line. Measure across the tail where the deck is still flat and compare that with the pad before fitting. If the tail is very wide, very narrow or heavily channeled, send a photo with a ruler across it and we will tell you whether the surfboard tail pad is the right shape.
What does the diamond pattern actually do?
The diamonds are raised, so they give the foot edges to push against instead of a smooth surface — that is what you feel when you load the tail through a turn. The perforations between the blocks also let water run off rather than sitting under the foot. A surf traction pad like this one keeps that pattern for the life of the pad, which is the difference from a waxed deck that has to be re-done every few sessions.
Can I take it off later without damaging the deck?
Yes. Warm the panel gently, lift a corner and peel slowly, keeping the pad close to the deck as it comes away. Old adhesive residue lifts with a citrus-based cleaner or a light wipe of mineral spirits, and the deck then needs to dry fully before a new traction pad for surfboard tails goes on. Take your time on a resin or epoxy deck — a slow peel stresses the surface far less than a fast one.
Does it work on a longboard?
It works as a longboard traction pad on the tail of a mid-length or a longboard, which is where most of the turning happens. On a very wide tail, spread the two side panels further apart and leave more deck visible at the rail. Boards that are walked for noseriding usually keep wax forward of the tail and traction only at the back.
Do I need wax on top of the pad?
No, and it is better not to. Wax fills the diamond grid and the holes, and once it is in there the grip is gone until you clean it out. Rinse with fresh water and use a soft brush, and keep solvents and harsh cleaners away from the surface. A surfing traction pad that is rinsed after sessions keeps its pattern, while one left waxy goes slick.
Can the pad be made in our own colours or with our branding?
Colourways and branding are discussed per programme — tell us the colour direction and where your mark would sit on the panel, and we will confirm what is possible for your order. Many surf board manufacturers and private-label brands build their tail-pad line with us this way, alongside the fins and leashes that go on the same boards.